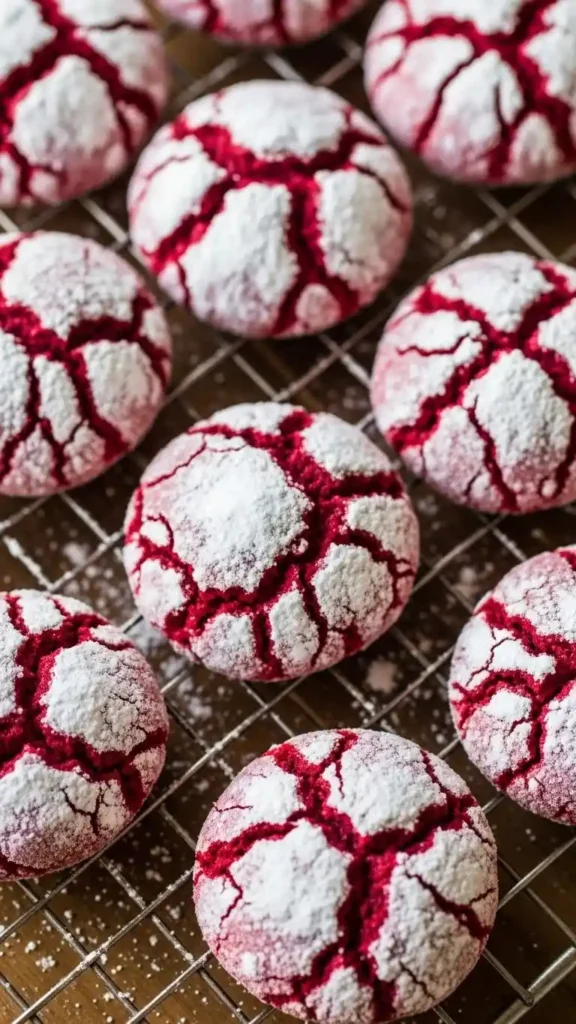
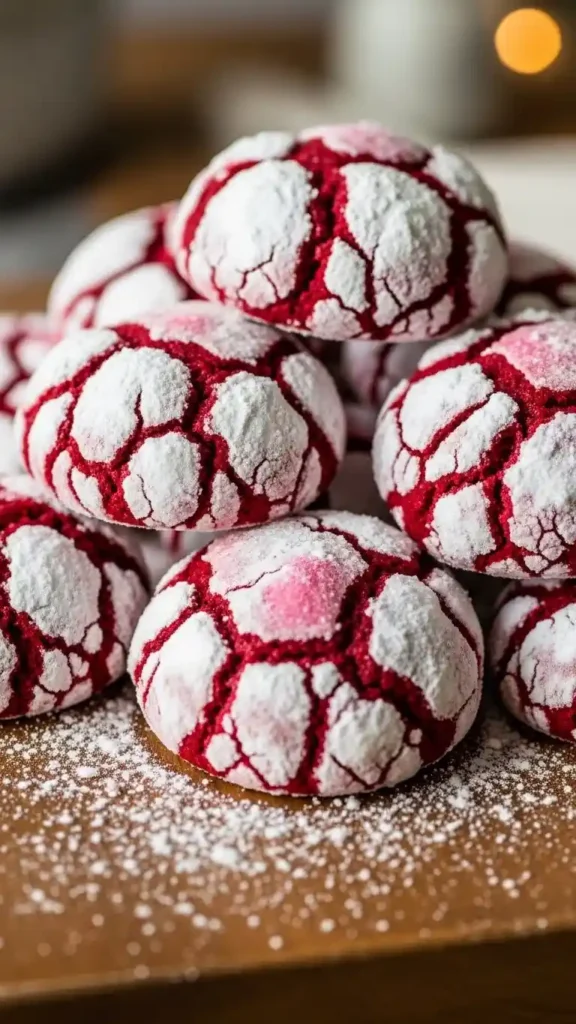
Valentine’s Day feels cozier with homemade treats filling the kitchen. These cookies are soft, sweet, and festive. Each bite brings warmth and makes the holiday even brighter.
Making a Valentine’s Day red velvet crinkle cookie at home turns simple moments into lasting memories. The crinkled tops hide a soft, chocolatey surprise inside. Sharing these cookies adds love and joy to every celebration.
Why You’ll Love This Recipe
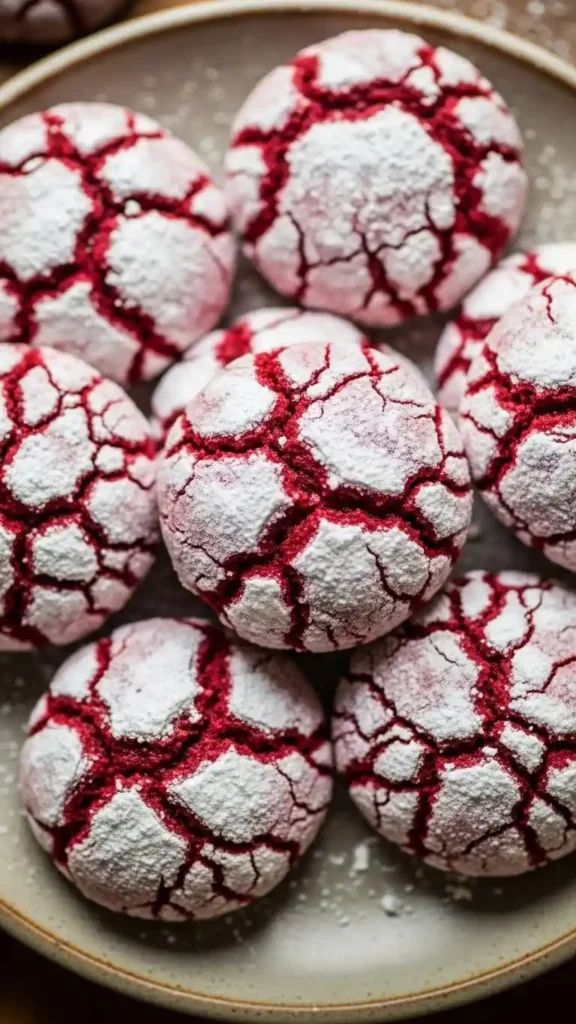
These cookies are more than just delicious; they’re festive and fun to make. Each red velvet crinkle cookie has a soft, fudgy center with a slightly crisp outer edge, creating the perfect texture contrast. The powdered sugar coating gives them a charming, crackled appearance that’s perfect for Valentine’s Day.

This recipe is also versatile. You can make classic cookies, heart-shaped treats, or even add extra chocolate chips for an indulgent twist. It’s the kind of recipe that not only tastes amazing but also brings joy to anyone who receives it.
Ingredients
| Category | Ingredient | Amount |
| Dry Ingredients | All-purpose flour | 1 ½ cups |
| Unsweetened cocoa powder | ½ cup | |
| Baking powder | 1 tsp | |
| Baking soda | ½ tsp | |
| Salt | ¼ tsp | |
| Wet Ingredients | Unsalted butter, softened | ½ cup |
| Granulated sugar | 1 cup | |
| Eggs, large | 2 | |
| Vanilla extract | 1 tsp | |
| Red food coloring | 1 tbsp | |
| Optional Add-ins | White chocolate chips | ½ cup |
| Heart-shaped sprinkles | As desired |
Kitchen Equipment You’ll Need
- Mixing bowls (medium and large)
- Hand mixer or stand mixer
- Measuring cups and spoons
- Baking sheets
- Parchment paper or silicone baking mat
- Cookie scoop or tablespoon
Using the right tools helps you make uniform, perfectly baked cookies every time.
Easy Steps to Make Red Velvet Blossom Cookies
Step 1: Mix Dry Ingredients
Start by gathering all your dry ingredients: flour, cocoa powder, baking powder, baking soda, and salt. In a medium-sized bowl, sift the flour and cocoa powder to remove any lumps, which will help your cookies have a smooth texture. Then, whisk the flour, cocoa, baking powder, baking soda, and salt together until evenly combined. This ensures that the rising agents are evenly distributed, so your cookies bake uniformly.
Step 2: Cream Butter & Sugar
In a large mixing bowl, add softened butter (room temperature) and granulated sugar. Using an electric mixer on medium speed, cream them together for 2–3 minutes. You want the mixture to look light, fluffy, and pale in color. This step is crucial because creaming incorporates air into the dough, giving your cookies a soft, tender texture. Make sure to scrape down the sides of the bowl occasionally so everything blends evenly.
Step 3: Add Wet Ingredients
Next, add the eggs one at a time. Beat each egg into the butter-sugar mixture until fully incorporated before adding the next. Then, add vanilla extract for flavor. If you’re making classic red velvet crinkle cookies, now’s the time to add red food coloring. Mix everything on medium speed until the dough is smooth and has a consistent color throughout. Avoid overmixing at this stage, as it can affect the cookie’s texture.
Step 4: Combine Wet & Dry Ingredients
Gradually add your dry ingredient mixture to the wet mixture in batches. Use a mixer on low speed or fold gently with a spatula to combine. Mix just until a soft dough forms stops as soon as all the flour is incorporated. Overmixing can make cookies tough, so it’s better to undermine slightly than overdo it. The dough should be soft but manageable for rolling into balls.
Step 5: Form & Coat Dough Balls
Use a cookie scoop or spoon to form dough balls, about 1 ½ inches in diameter. Roll each dough ball in powdered sugar until completely coated. This coating not only adds sweetness but also gives the cookies their signature crinkle look as they bake. Make sure each ball is fully covered; this creates the contrast between the powdered sugar and the rich red cookie underneath.
Step 6: Bake Perfect Crinkles
Place the sugar-coated dough balls on a parchment-lined baking sheet, leaving about 2 inches between each cookie to allow for spreading. Preheat your oven to 350°F (175°C) and bake the cookies for 10–12 minutes. The cookies should look set around the edges but slightly soft in the center. As they bake, they will naturally crack, creating that classic crinkled appearance.
Once baked, let the cookies cool on the baking sheet for a few minutes before transferring them to a wire rack to cool completely. This helps them firm up and prevents breaking.
Nutrition Information
| Nutrient | Amount per Cookie |
| Calories | 140 kcal |
| Fat | 6 g |
| Carbohydrates | 20 g |
| Protein | 2 g |
Variations You Can Try
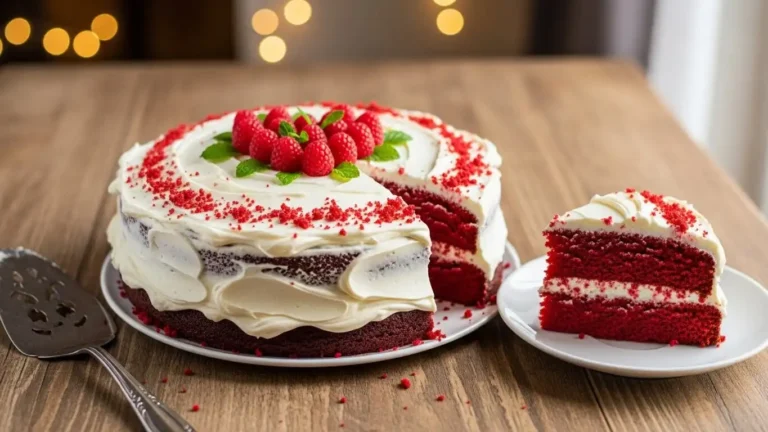
These Valentine’s Day red velvet crinkle cookies are delicious on their own, but you can easily switch things up to make them even more festive or indulgent. If you’re looking for a lower-carb option, try our Keto Cinnamon Cream Cheese Roll Ups Recipe for a soft, flavorful alternative
Heart-Shaped Valentine’s Cookies
Use a small heart-shaped cookie cutter to create festive Valentine’s cookies. Press lightly before baking to maintain shape.
Lemon Raspberry Cookies
For a fruity twist, you could also try bright and tangy Lemon Raspberry Cookies, which add a refreshing flavor to your Valentine’s Day cookie assortment.
Red Velvet Crinkle Cookies with Cream Cheese Filling
Add a small cube of cream cheese in the center of each cookie before baking for a gooey surprise inside.
Gluten-Free or Vegan Options
Substitute all-purpose flour with a gluten-free blend and use plant-based butter and flax eggs for a vegan version. The texture will still be soft and delicious.
Storage & Make-Ahead Tips
- Room temperature: Store in an airtight container for up to 5 days.
- Freezing: Freeze baked cookies or unbaked dough balls for up to 3 months. Bake frozen dough directly with a slight increase in baking time.
- Reheating: Warm cookies for a few seconds in the microwave for that fresh-baked feel.
Pro Tips for Perfect Red Velvet Crinkle Cookies
Baking the perfect Valentine’s Day red velvet crinkle cookies is all about small details that make a big difference. With the right techniques, you can achieve soft, fudgy centers, beautiful crackled tops, and cookies that look as good as they taste.
- Chill the dough: Letting the dough chill for at least 30 minutes helps prevent cookies from spreading too much. It also gives them that soft, fudgy texture everyone loves.
- Don’t overbake: Remove cookies from the oven when the centers are still slightly soft. They will continue to bake on the tray, keeping them chewy and tender.
- Powdered sugar coating: Roll the dough balls generously in powdered sugar before baking. This creates the signature crinkled top that makes these cookies so charming.
- Mix gently: When combining wet and dry ingredients, mix until just incorporated. Overmixing can lead to tough cookies instead of soft, melt-in-your-mouth treats.
Conclusion
These cookies are soft, fudgy, and beautifully crackled, perfect for celebrating love and sweetness. They are great for gifting, sharing, or enjoying on your own. Valentine’s Day red velvet crinkle cookies make every batch feel special and festive.
The recipe is easy to follow, and every cookie turns out delicious. Simple to make but full of charm, these treats are sure to bring joy and sweetness to any Valentine’s Day.